Nail Guns Explained: A Practical UK Buyer's Guide
Choose a nail gun by job, fastener gauge, power source and safety controls. A practical UK guide to brad, finish, framing and stapler tools.
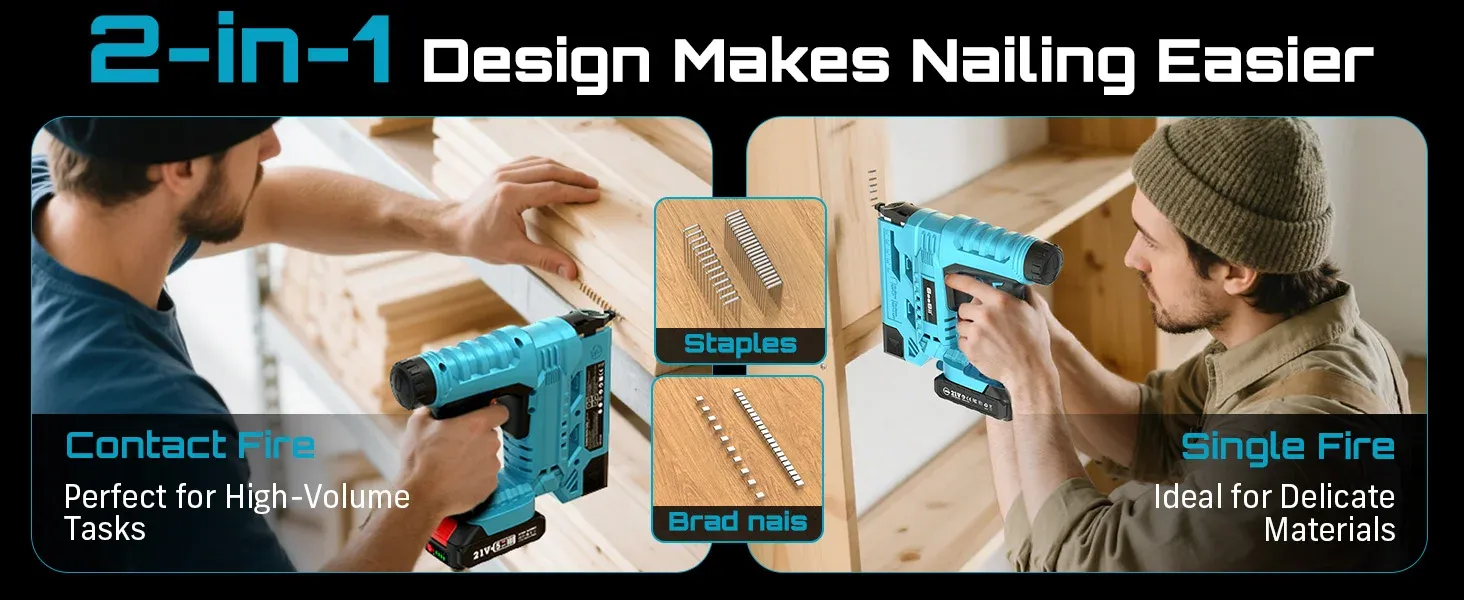
A nail gun should be chosen by the fastener and material, not by power or price alone. For decorative panelling, beading and light trim, an 18-gauge brad nailer is often the sensible category. Thicker finish nails suit heavier trim; framing nailers are a different class for structural work; staplers need the correct crown and leg length for the material.
Before buying, write down the job, material thickness, required holding strength, visible finish and whether hidden pipes or cables may be behind the surface. That list prevents a convenient cordless tool from being used for work it was never designed to do.
Nail-gun types at a glance
| Tool type | Typical role | Main buying check |
|---|---|---|
| 18-gauge brad nailer | Beading, decorative panelling, cabinet trim and light repairs | Brad length, depth control and whether adhesive or another fixing carries the load |
| 16-gauge finish nailer | Heavier skirting, architrave and finish carpentry | Material splitting risk, nail length and tool weight |
| Pin nailer | Fine mouldings and near-invisible temporary holding | Very limited holding strength |
| Framing nailer | Structural timber assembly where specified | Correct nails, system approval and competent use |
| Narrow-crown stapler | Fabric, thin sheet and selected trim tasks | Exact crown, leg length and material compatibility |
For a focused gauge comparison, read the brad nailer versus finish nailer guide.
Choose the fastener before the power source
Gauge describes fastener thickness: a higher gauge number generally means a thinner nail. Thin brads leave a smaller hole and reduce splitting risk in delicate trim, but they do not turn decorative work into structural fixing.
Measure the workpiece and the substrate. The fastener must hold adequately without emerging from the back, striking hidden services or entering an unsuitable base. Follow the material and tool instructions; when the fixing is structural or safety-critical, use the specified system rather than improvising with brads.
Staple compatibility needs more than a length range. Crown width and wire specification must match the magazine. Confirm an exact compatible SKU before buying boxes in bulk.
Cordless, pneumatic or gas?
Cordless electric
Cordless tools avoid a hose and compressor, making them convenient for indoor repairs and moving between rooms. The trade-offs are battery weight, charging, a proprietary battery platform and a purchase price that may be high for one small project.
Pneumatic
Pneumatic nailers can be lighter in the hand and well suited to repeated bench work, but the compressor, hose, noise and storage are part of the system. Include those costs and trip hazards in the comparison.
Gas
Gas nailers can suit particular site tasks but add fuel cells, maintenance and storage considerations. They are rarely the default answer for occasional decorative work in an occupied home.
Safety checks before the first fastener
Nail guns can fire into hands, through thin materials and towards hidden services. Treat every tool as ready to fire.
- Read the exact manual and use the specified fasteners.
- Wear suitable eye protection and keep other people outside the firing area.
- Check both sides of thin work where possible.
- Locate likely pipes and cables before fixing to a wall; do not infer a clear route from surface appearance alone.
- Keep hands away from the line of fire and never hold a small offcut behind the fastening point.
- Use the contact safety as designed; never defeat it.
- Disconnect the battery, air line or fuel source before clearing a jam, loading under maintenance conditions or inspecting the nose.
- Scrap-test depth on matching material before working on a finished face.
If the tool, fastener or substrate behaves unpredictably, stop. More pressure and repeated firing are not a diagnosis.
Depth control and a proper scrap test
Depth controls compensate for material and fastener differences, but the dial position is not universal. Use offcuts matching the job:
- Start at a conservative depth.
- Keep the tool square and seat the safety contact fully.
- Fire one fastener and inspect both sides.
- Adjust one step at a time.
- Reject split, blown-through or proud results before continuing.
- Confirm that the chosen fixing provides the required hold.
Decorative wall strips often use adhesive for broad support while brads hold alignment during cure. Follow the adhesive maker’s surface and curing instructions; do not claim that brads alone carry loads they were not specified to carry.
Ergonomics for occasional and reduced-grip users
Weight in a specification table does not fully describe handling. Battery position, nose visibility, grip size, balance and the force needed to seat the contact all matter. If arthritis, reduced grip or fatigue is a concern, handle the complete tool with battery if possible and plan short sessions.
A cordless nailer may remove repetitive hammering, but it also introduces recoil, noise and a heavier object. Choose a stable working height, avoid overhead work when control is reduced, and ask another competent person to handle awkward positions.
What the BradNailer product is suited to
The BradNailer cordless 18G nailer and stapler is presented for light finishing work such as skirting, architraves, beading, decorative wall panelling, trim repairs and selected upholstery. The current listing describes 18-gauge brads from 15-32 mm, compatible narrow-crown staples from 15-25 mm, adjustable depth, a safety contact tip and jam-clear access.
Confirm the live basket total, battery and charger contents, exact staple crown, returns and warranty before ordering. The product is not a framing nailer and should not be described as a structural fixing system. First-time buyers can use the 18-gauge brad nailer guide and the cordless brad nailer overview.
Buy, hire or use hand tools?
Buy when several suitable projects justify storage, battery care and maintenance. Hire when a larger specialist tool is needed briefly and you can obtain the right fasteners and instruction. Use a hammer, pin pusher, screws or adhesive when the project is small and those methods provide better control.
The quickest tool is not automatically the lowest-risk or lowest-cost option. Include consumables, battery replacement, compressor equipment and unused storage time.
Pre-purchase checklist
- Job and material written down.
- Structural versus decorative role confirmed.
- Gauge and fastener length confirmed.
- Staple crown confirmed if relevant.
- Hidden services checked.
- Power system and complete tool weight acceptable.
- Depth control, contact safety and jam procedure understood.
- Matching scrap available for testing.
- Eye protection and a clear work area ready.
- Live returns, warranty and box contents saved.
Frequently asked questions
Can one nail gun handle every home job?
No. Brad, finish, framing, pin and staple tools use different fasteners and are intended for different work. Choose by fixing requirement and material.
Is an 18-gauge brad nailer suitable for wall panelling?
It can suit decorative MDF strips and light trim when fastener length, substrate and the complete fixing method are appropriate. It is not a substitute for structural fixings.
Should I remove the battery before clearing a jam?
Yes. Isolate the tool from its power source and follow the exact manual before opening the nose or magazine.
Is cordless always better than pneumatic?
No. Cordless is portable and avoids a compressor; pneumatic can be lighter for repeated bench work. Compare the whole setup and the actual job.
Bottom line
Choose the fastener system first, then the tool. Match gauge and length to the material, separate decorative from structural work, locate hidden services, and prove depth on scrap. A nail gun earns its place when it makes an appropriate fixing more repeatable, not when it encourages the wrong fixing to be driven faster.